
Let’s get started!
-
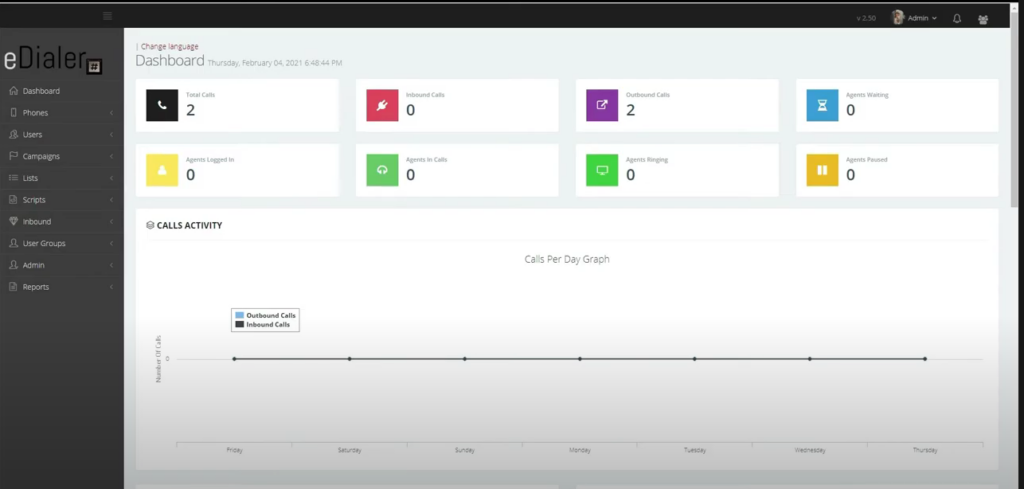
Go to your eDialer administration dashboard.
-
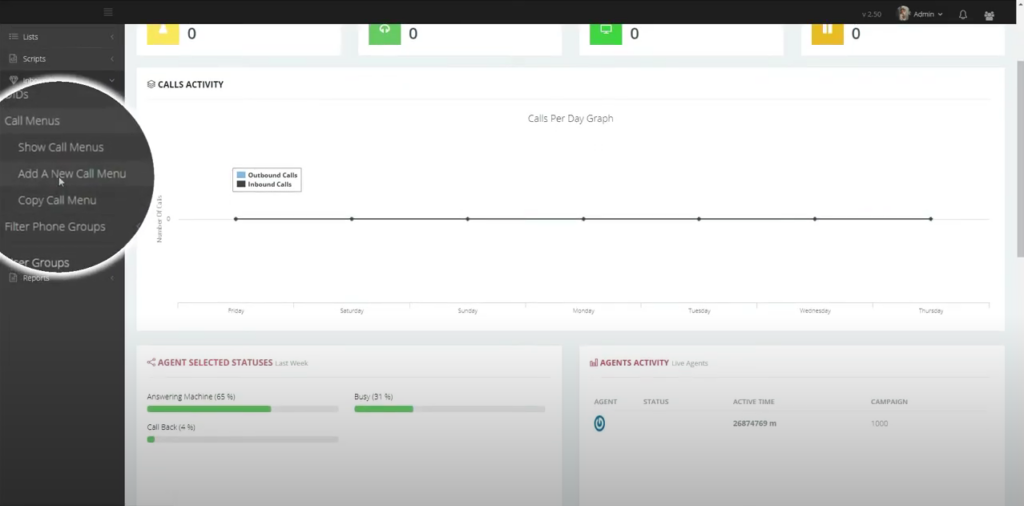
Navigate to Inbound > Call Menus and click Add a New Call Menu.
-
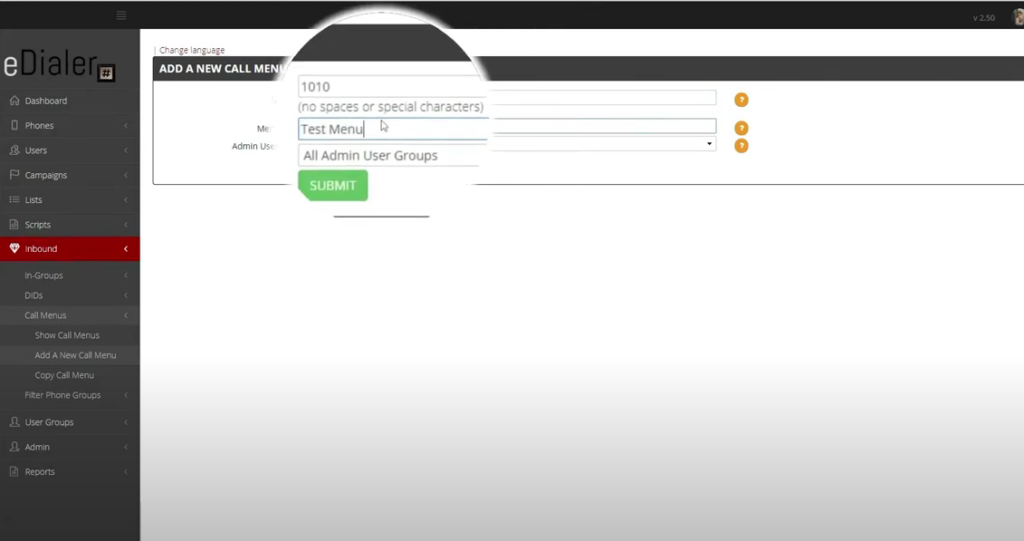
Enter the Menu ID and Menu Name you would like to use.
-
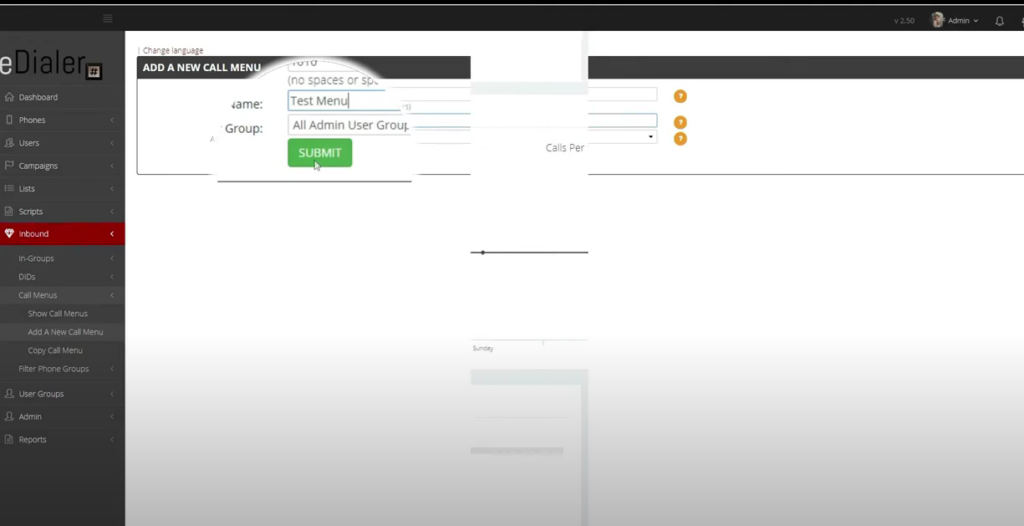
Click Submit.
-
Upload the voice prompt you would like to use for the call menu in the Audio Store. Please see our previous videos on how to upload your audio file to eDialer.
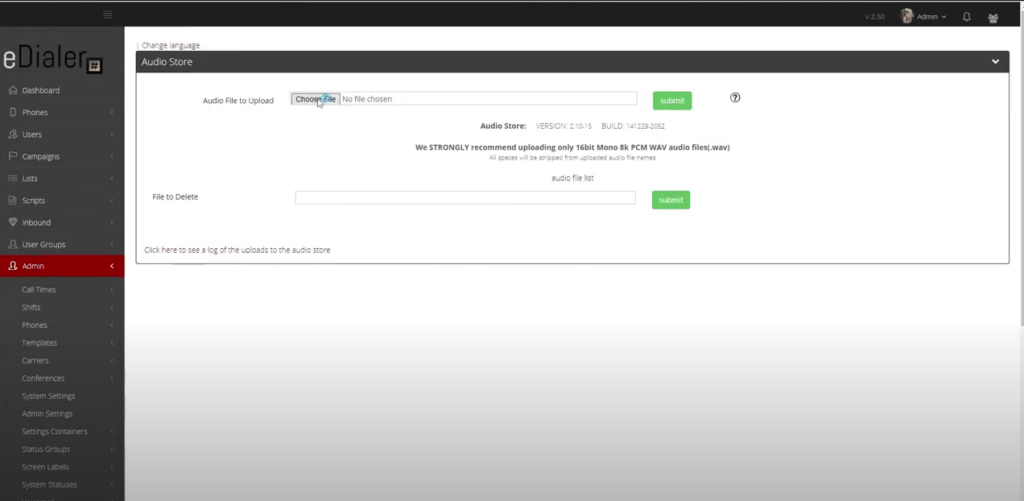
-
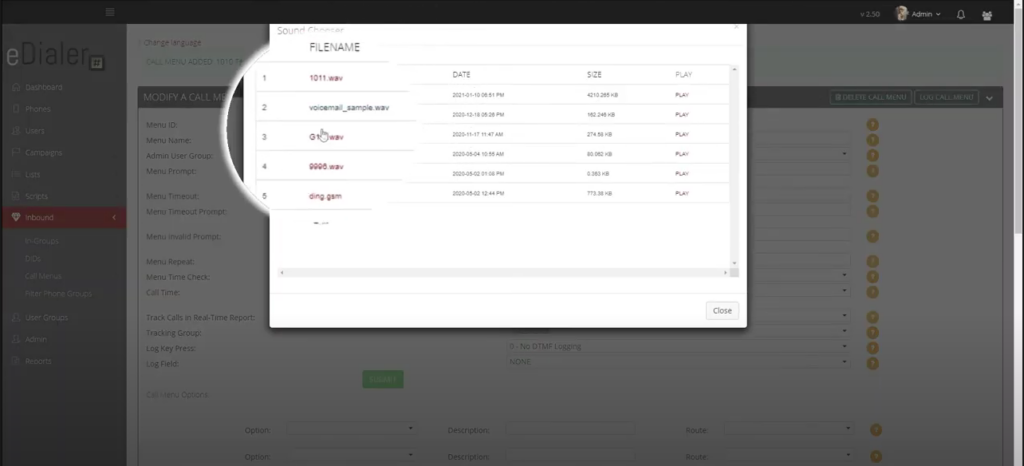
Under Menu Prompt, click the audio chooser and select the audio file you want to play for this call menu.
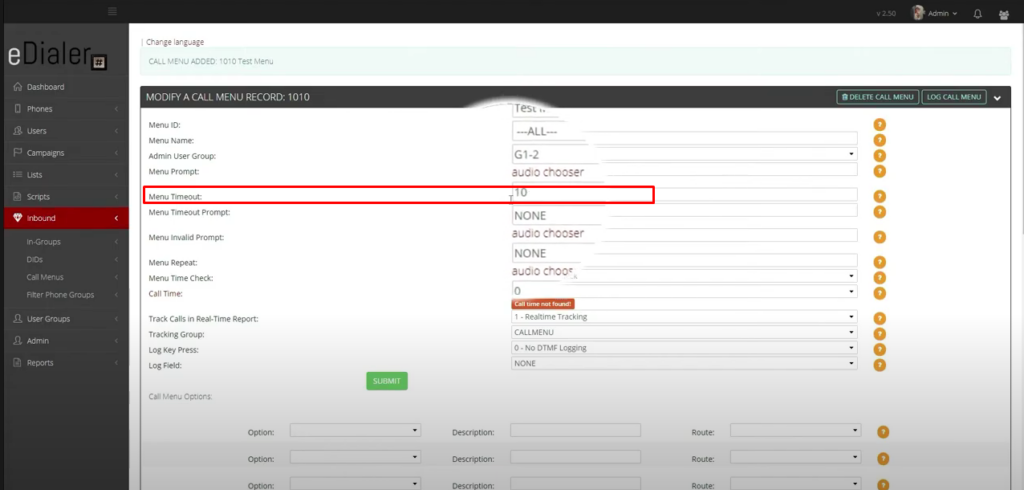
Menu Timeout is the number of seconds the menu will wait for the caller’s DTMF (keypress) response.
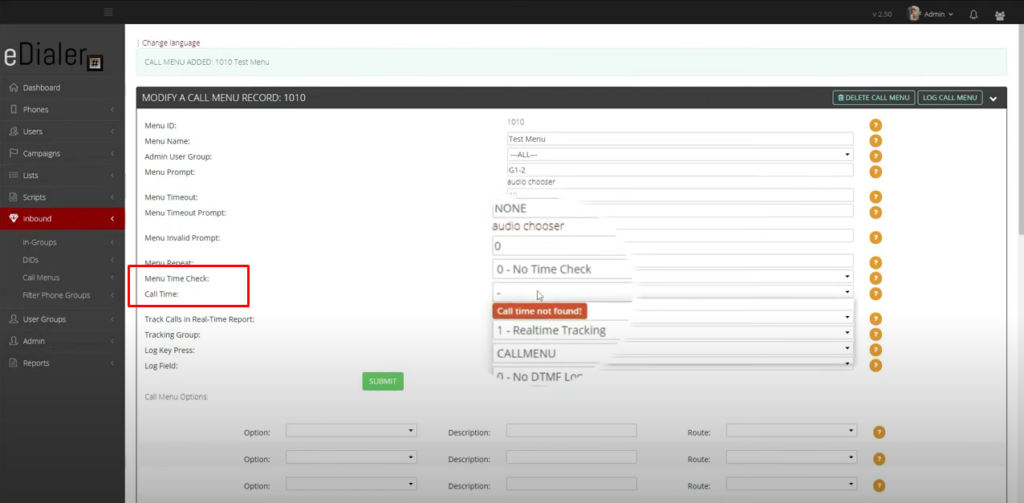
Menu Time Check and Call Time control calling time restrictions.
Some call menu fields have been skipped here because they are optional settings.
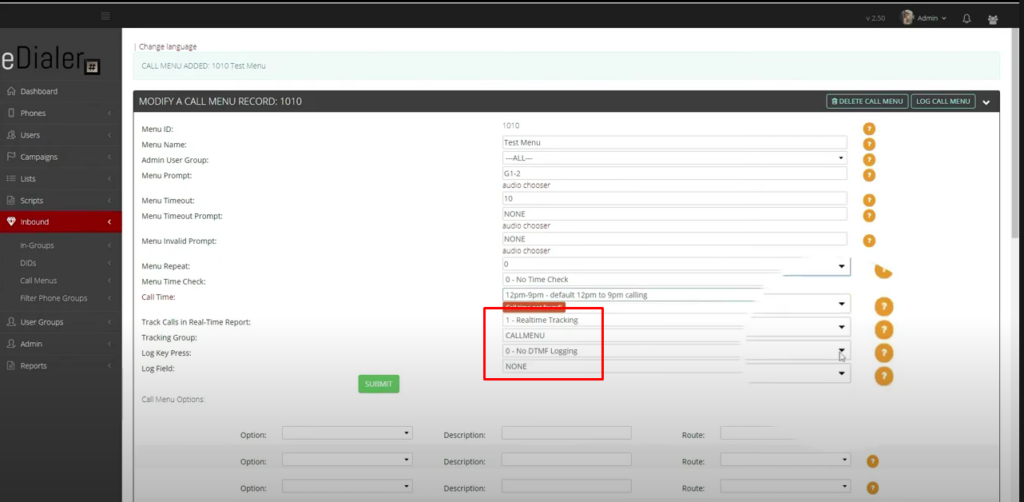
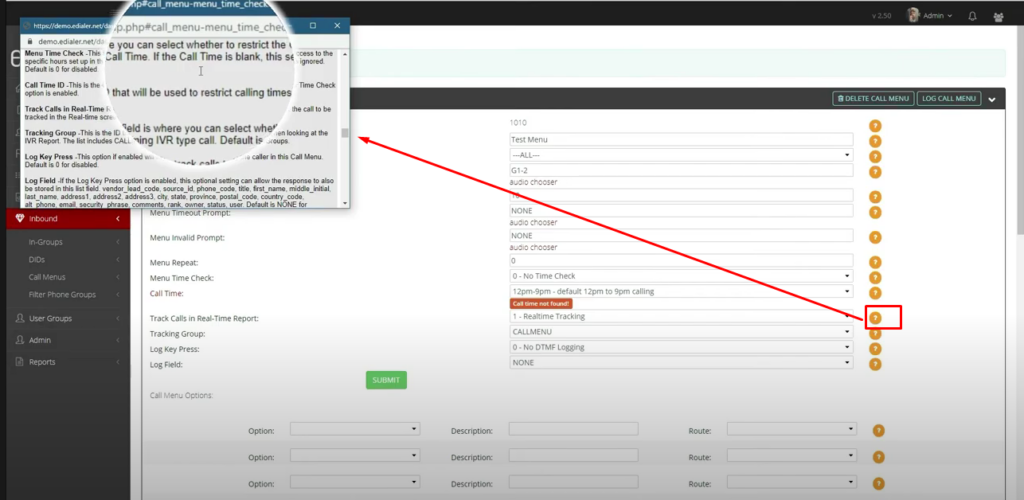
Click the circle with a question mark next to any field to see its definition and determine whether that setting applies to your use case.
-
Now let’s set up the Call Menu Options.
-
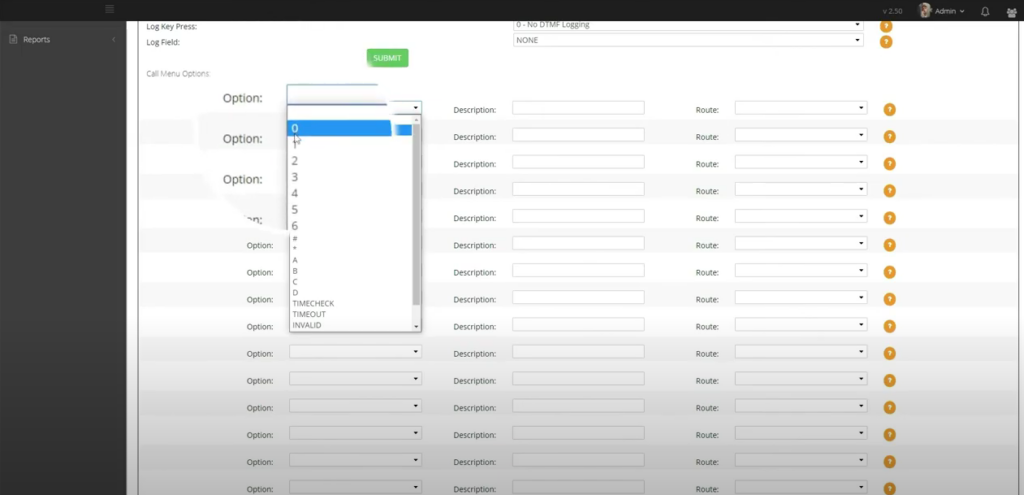
Option — A dropdown of all possible keypress choices in your call menu.
-
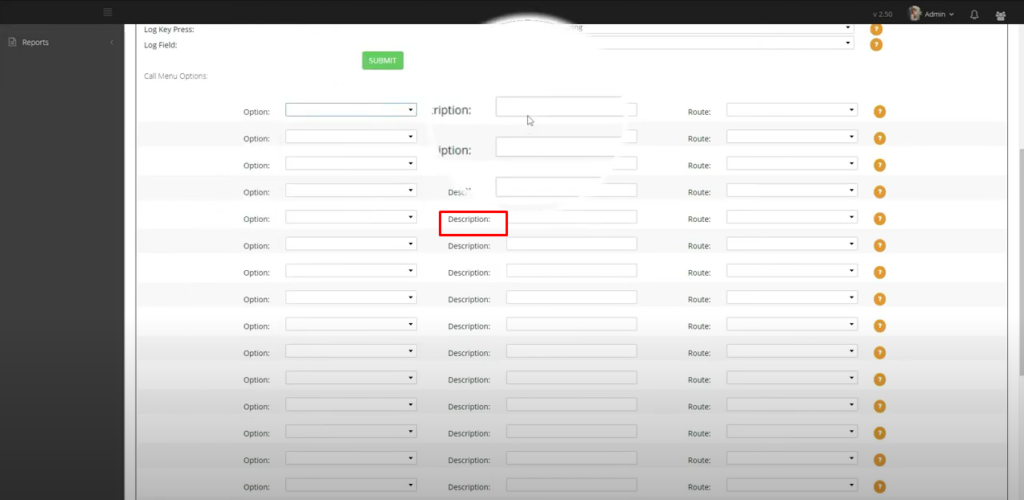
Description — An optional notes field for your reference.
-
Route — Determines where the call is sent when the caller selects this option.
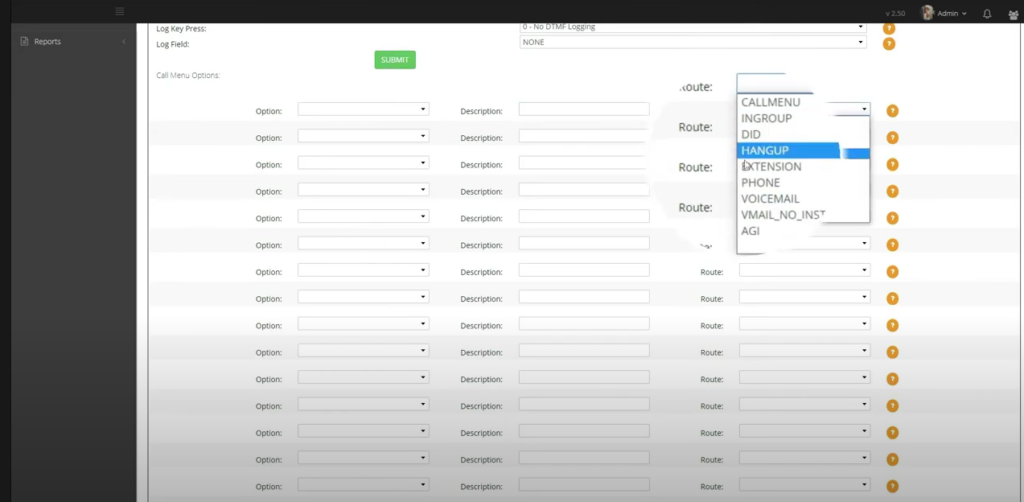
-
All remaining fields can be left at their default values.
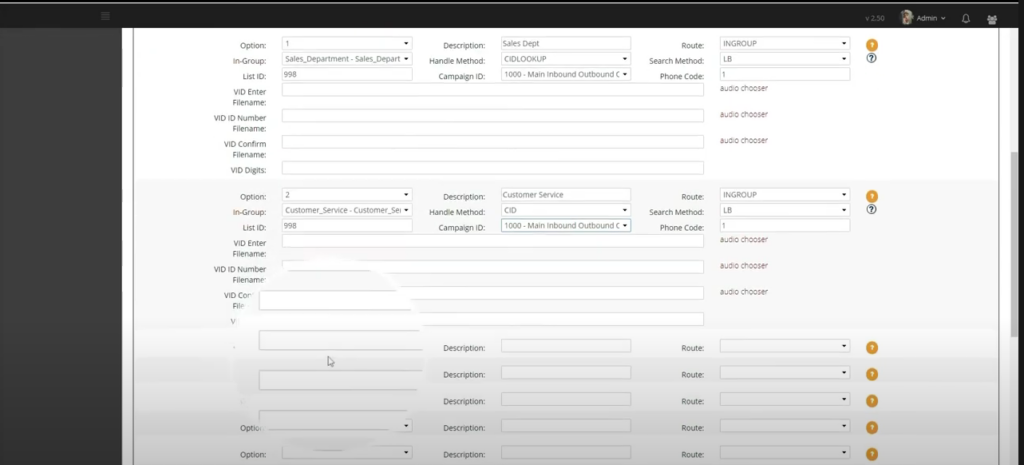
-
Option — A dropdown of all possible keypress choices in your call menu.
-
After adding all your call menu options, click Submit to save.
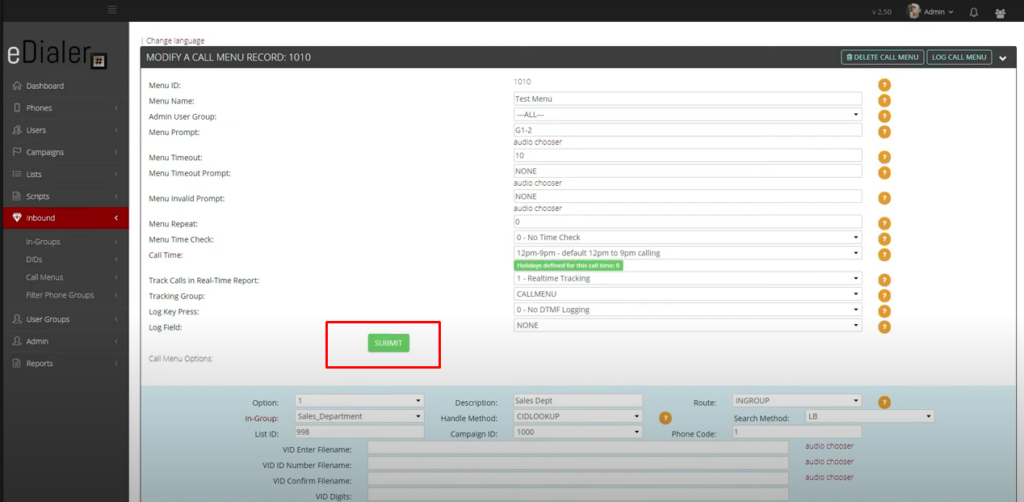
-
If you need to remove a call menu option, select Remove under the Route field for that option and click Submit to save.
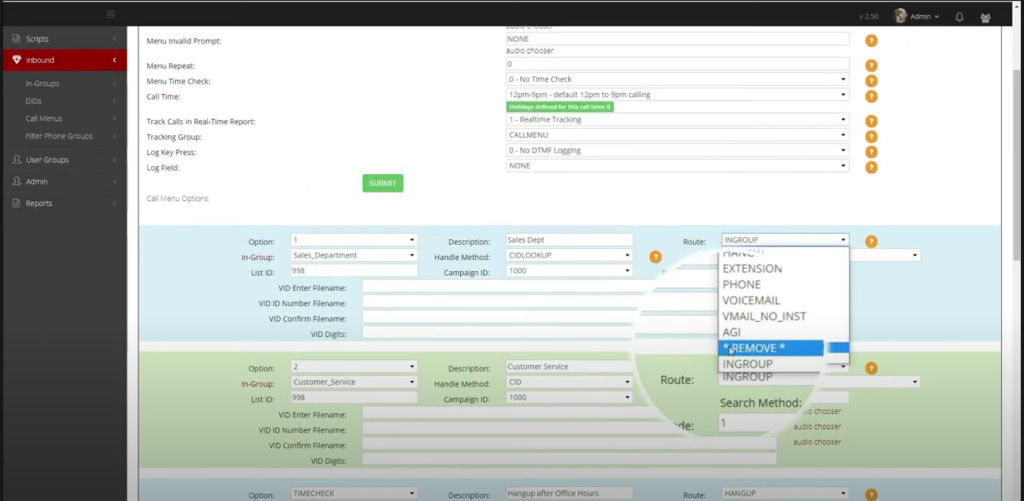
Need help setting up your call menu? Our support team is ready to assist. Call us at 866-273-4639 or contact sales at 1 (800) 233-0234.