
Just like the eDialer’s campaign settings, the ingroup handles the incoming call settings. Follow the steps below to create a new ingroup and link it to your campaign.
Part 1: Create a New Ingroup
-
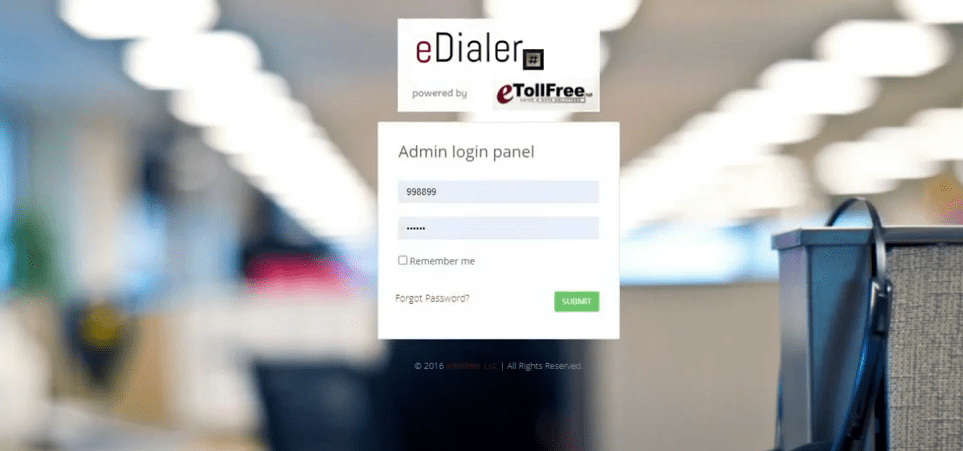
Log in to the eDialer administration dashboard.
-
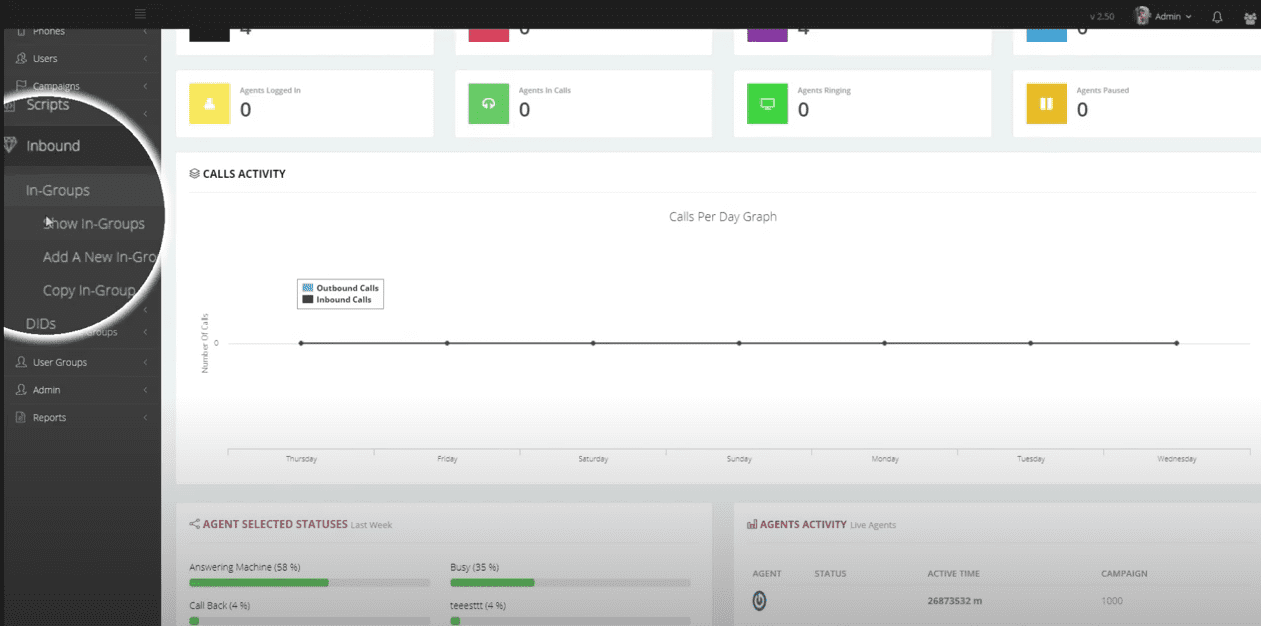
Go to Inbound > In-Groups.
-
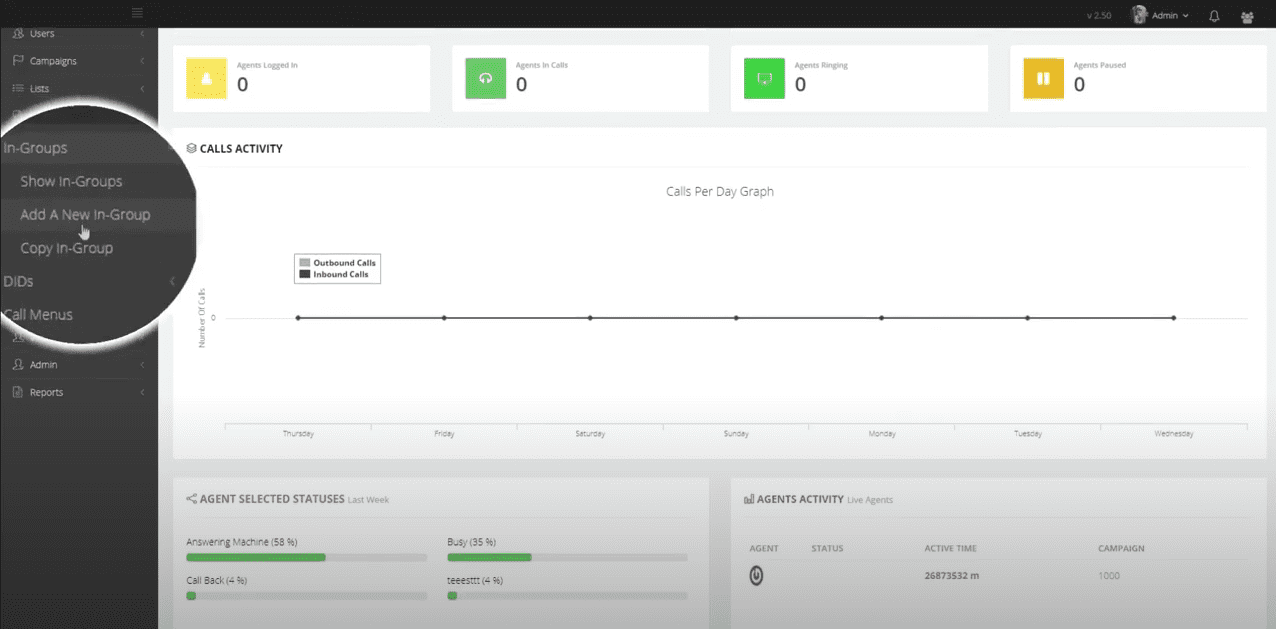
Choose Add a New In-Group.
-
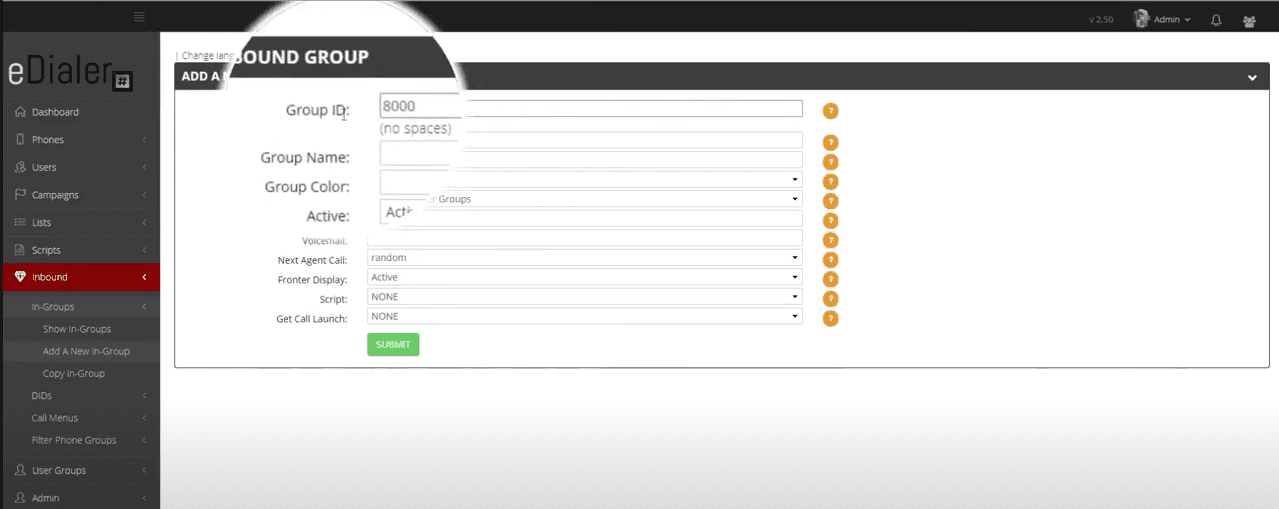
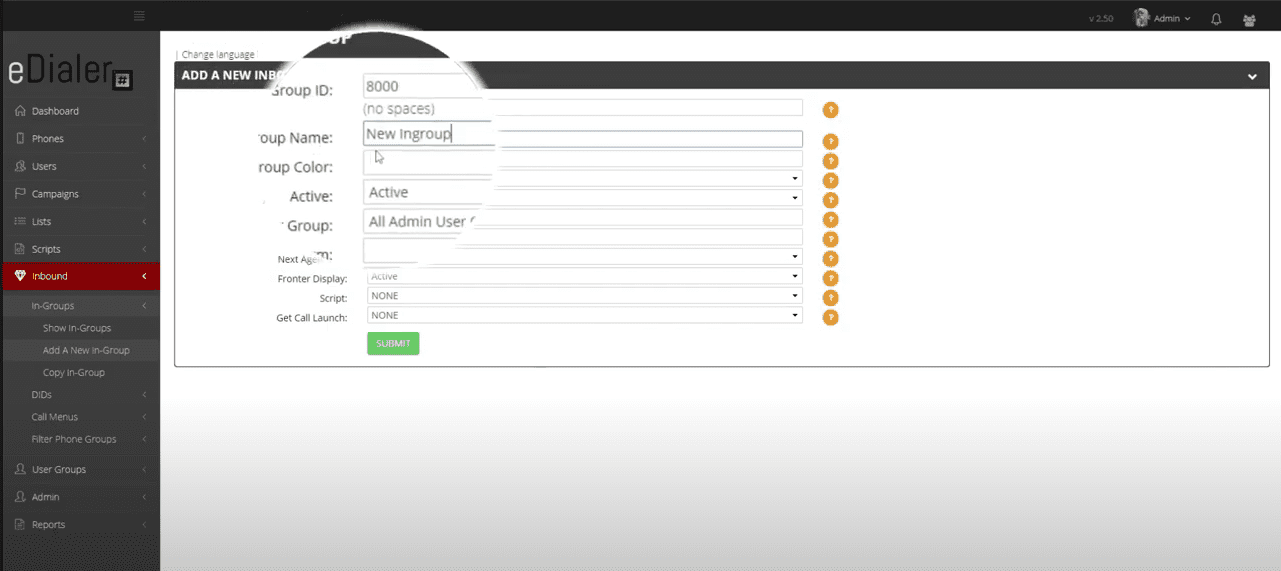
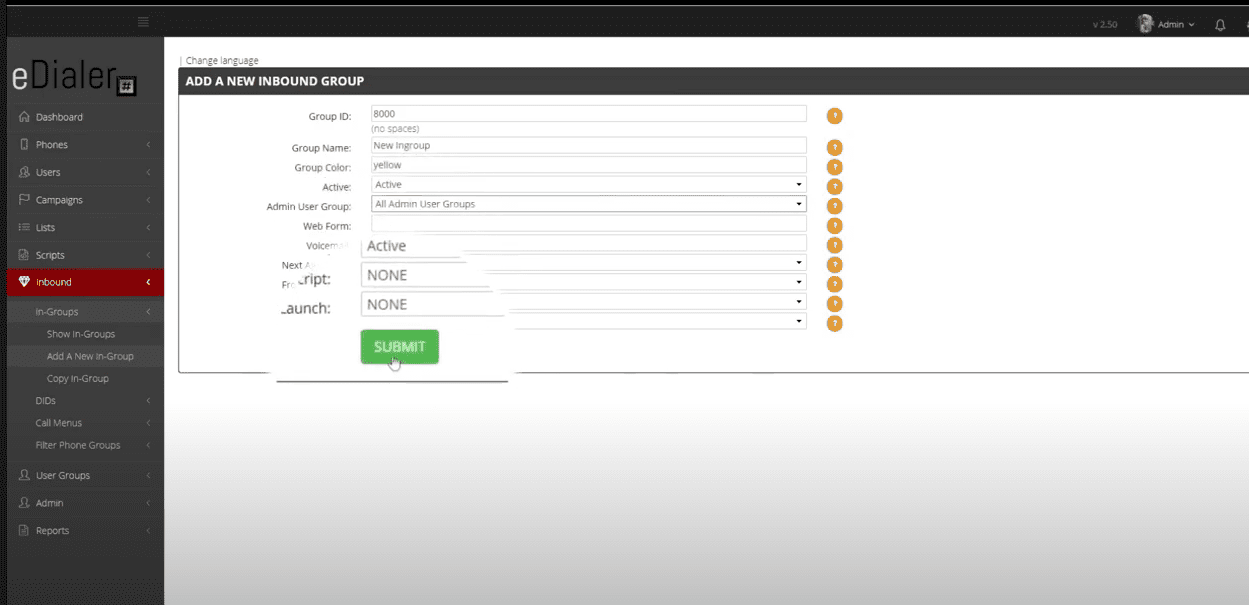
Enter an Ingroup ID. This must be 2–20 alphanumeric characters and must not match any existing campaign ID.
-
Enter a Group Name of 2–30 alphanumeric characters. This serves as the group description and will appear in the ingroup selection list in the agent interface.
-
Set a Group Color using a text color name (maximum 7 characters) or a hex color code beginning with a
#symbol (e.g.,#FF5733).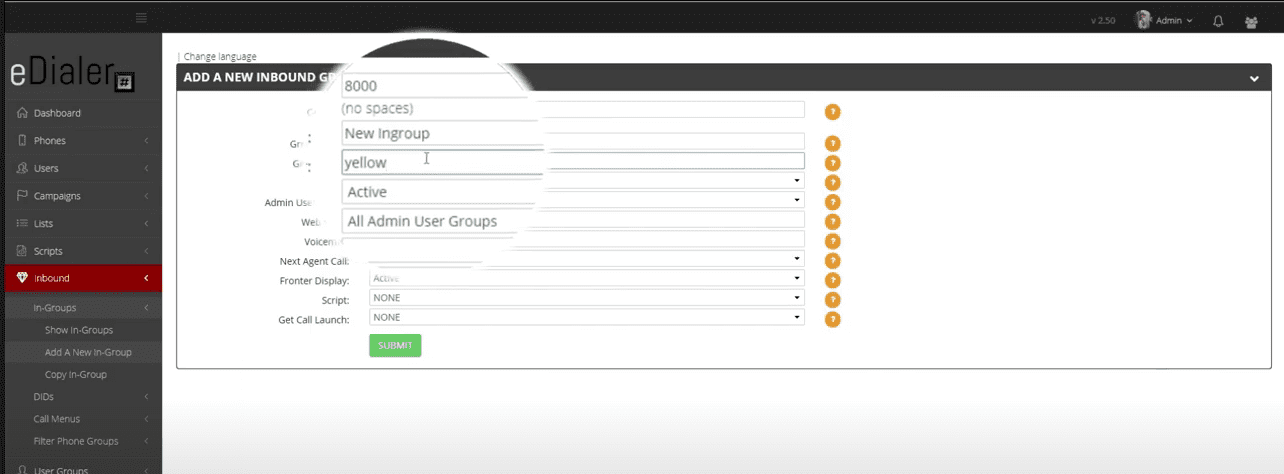
-
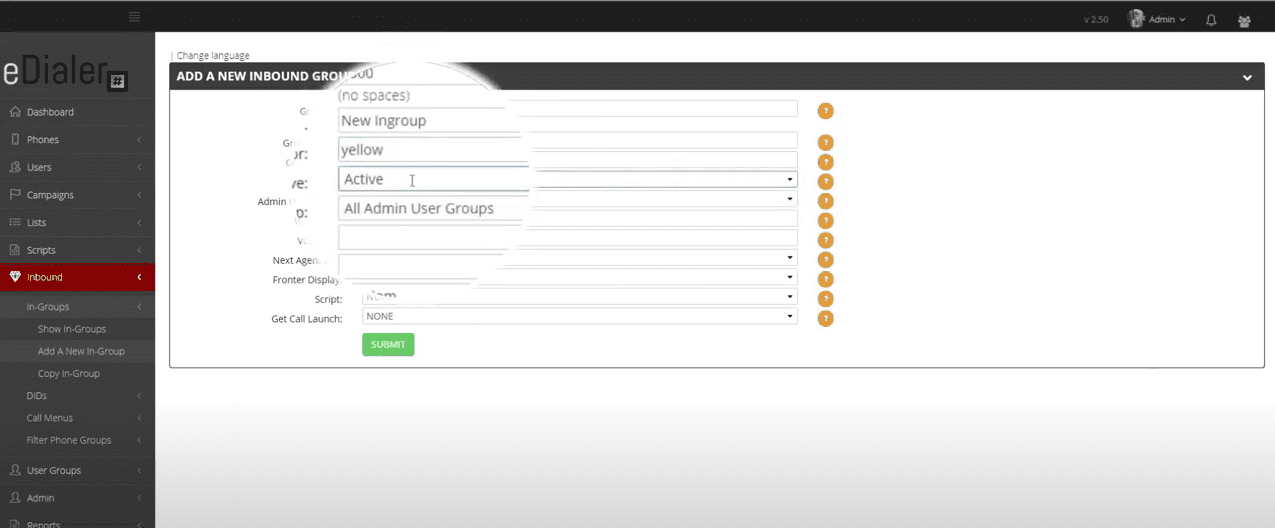
Set the Active field to Active. This determines whether the ingroup is available to receive calls.
-
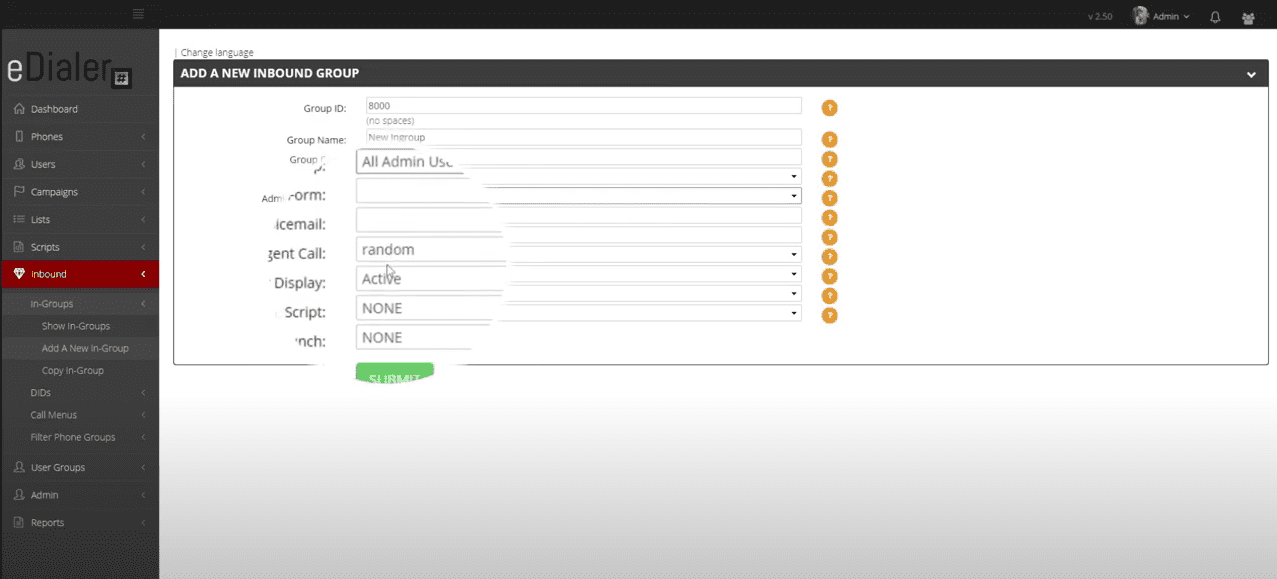
You can leave the remaining fields at their default values — you can modify them after the ingroup has been created.
-
Click the Submit button.
-
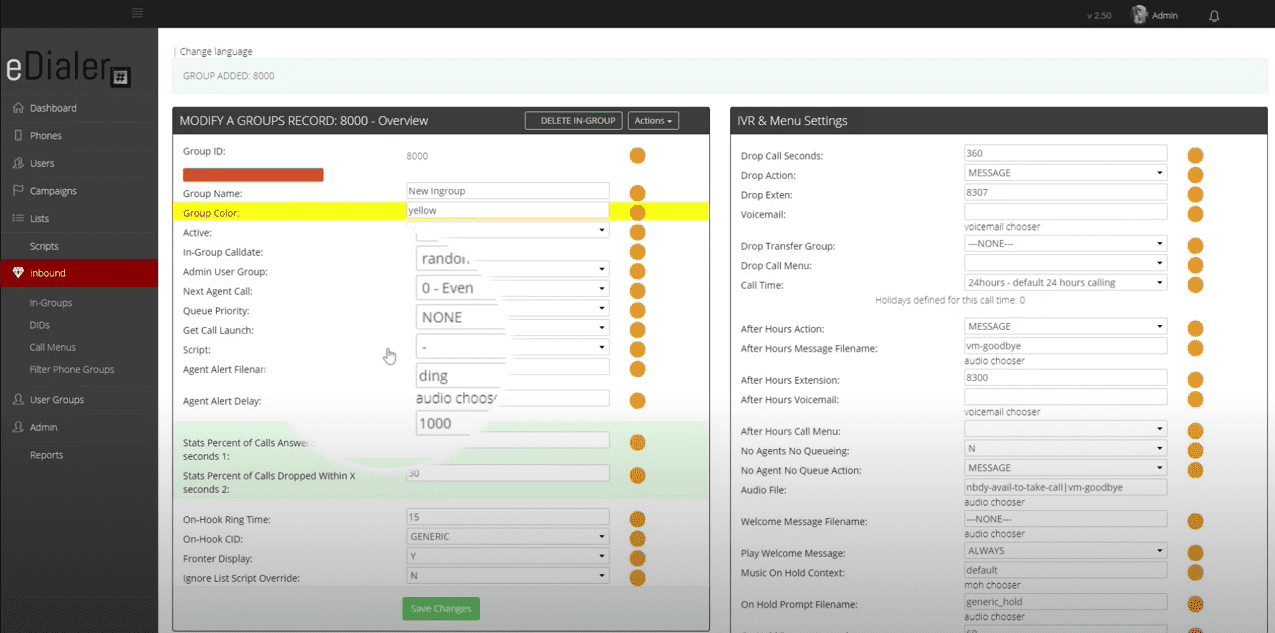
After the ingroup is created, you will see the full ingroup settings screen in the eDialer phone system.
-
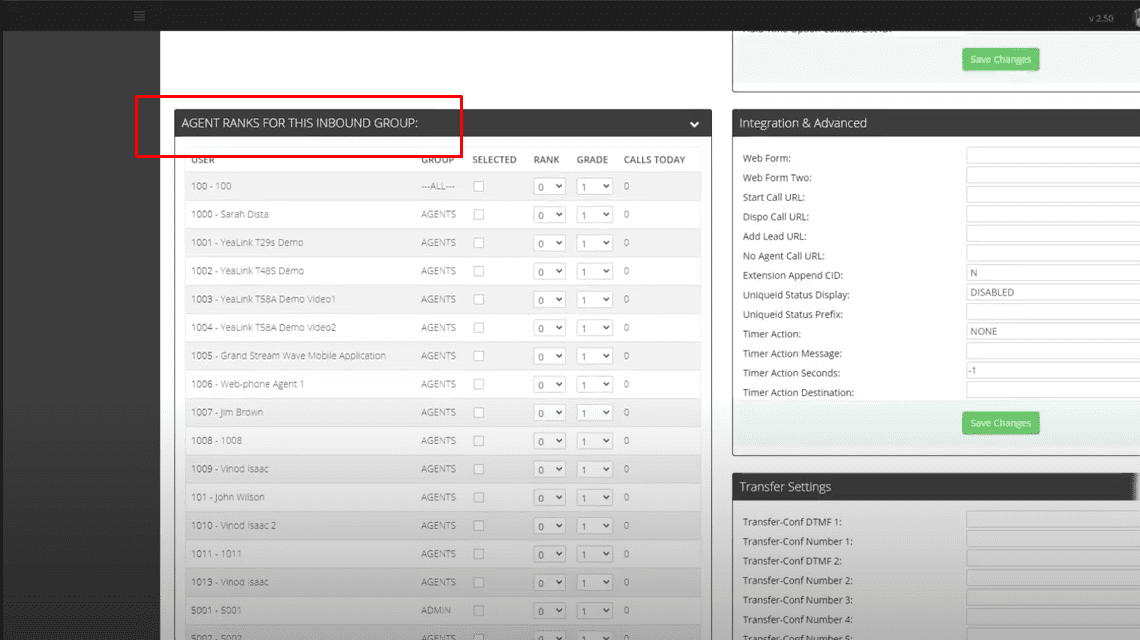
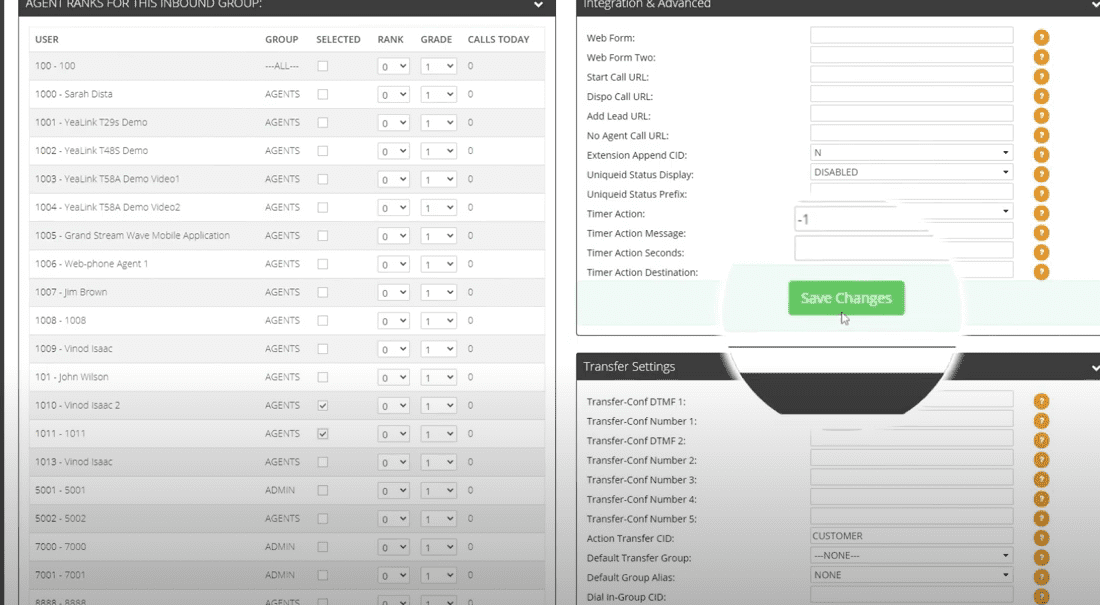
Scroll down to the Agent Ranks for This Inbound Group section.
-
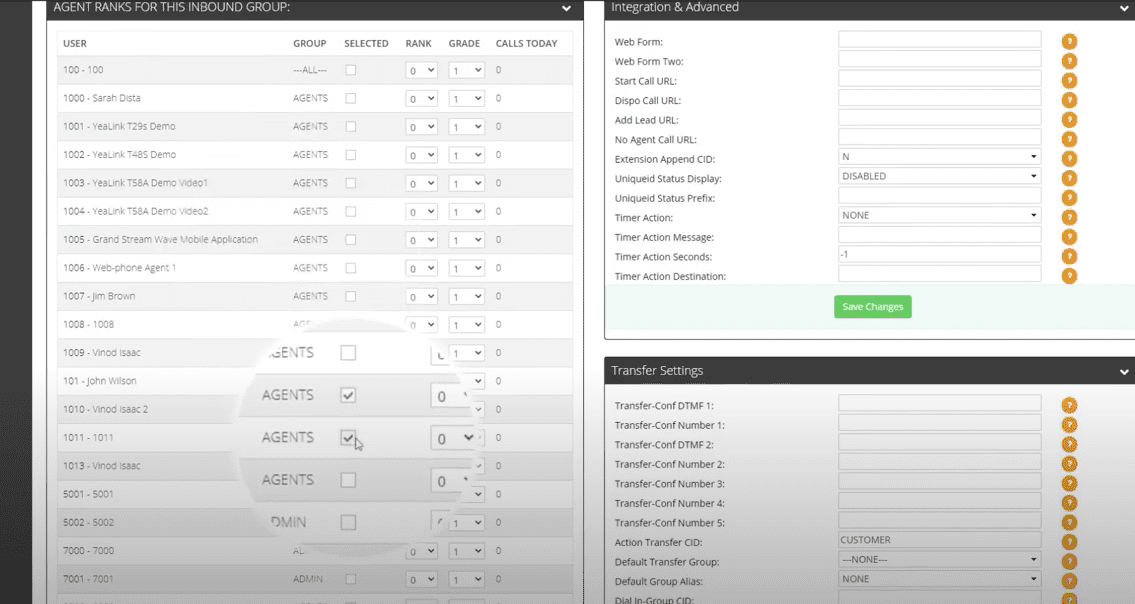
Select the checkboxes next to the users you would like to receive incoming calls.
-
Click Save Changes.
Part 2: Link the Ingroup to a Campaign
-
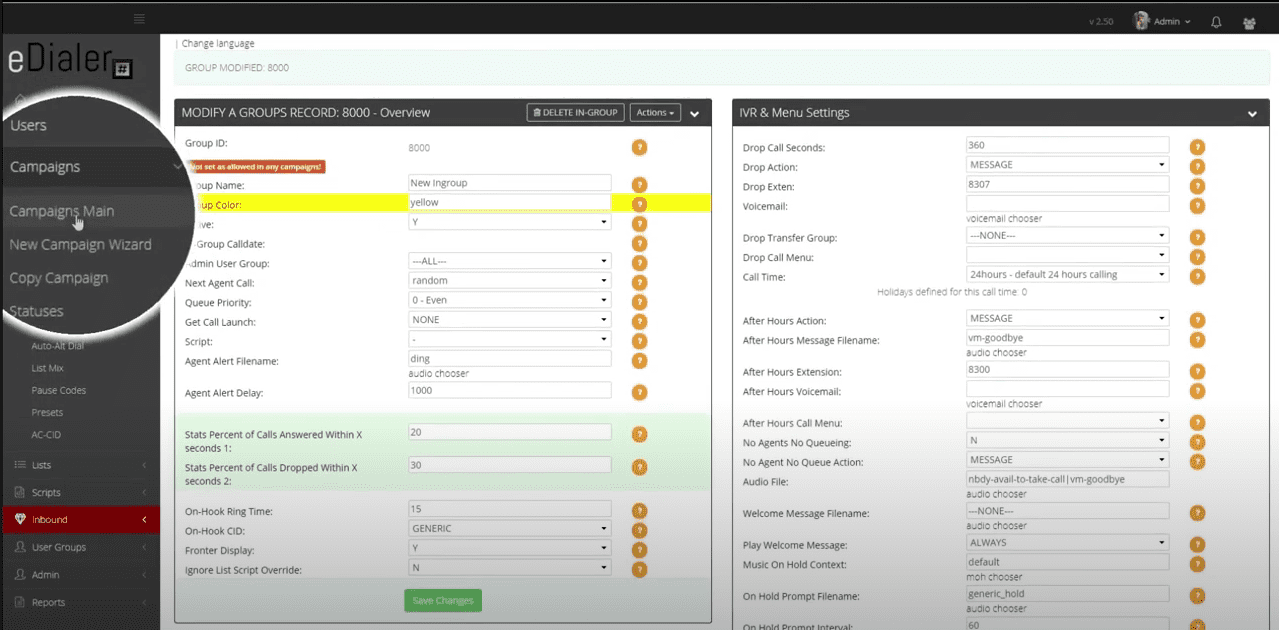
Go to Campaign > Campaign Main.
-
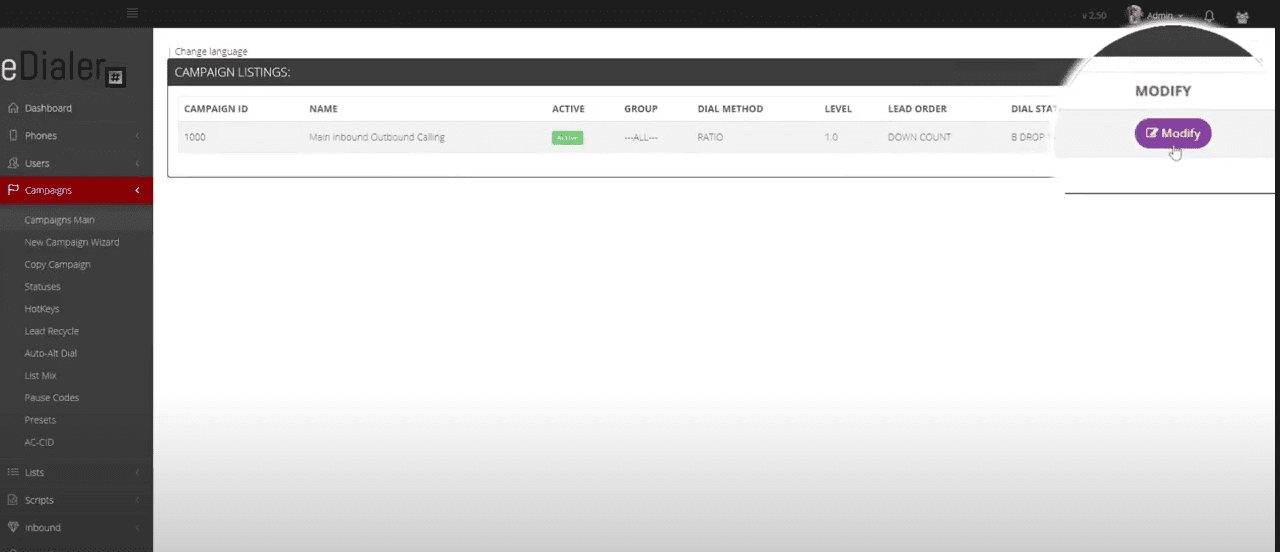
Click Modify next to the campaign you want to allow inbound calls for.
-
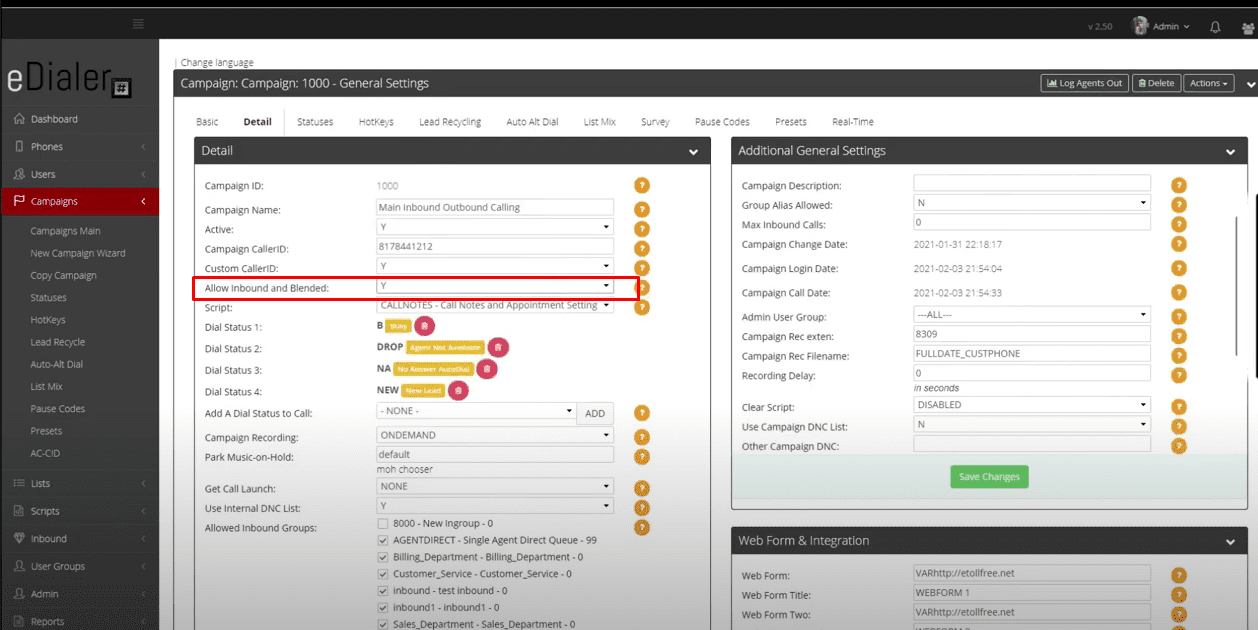
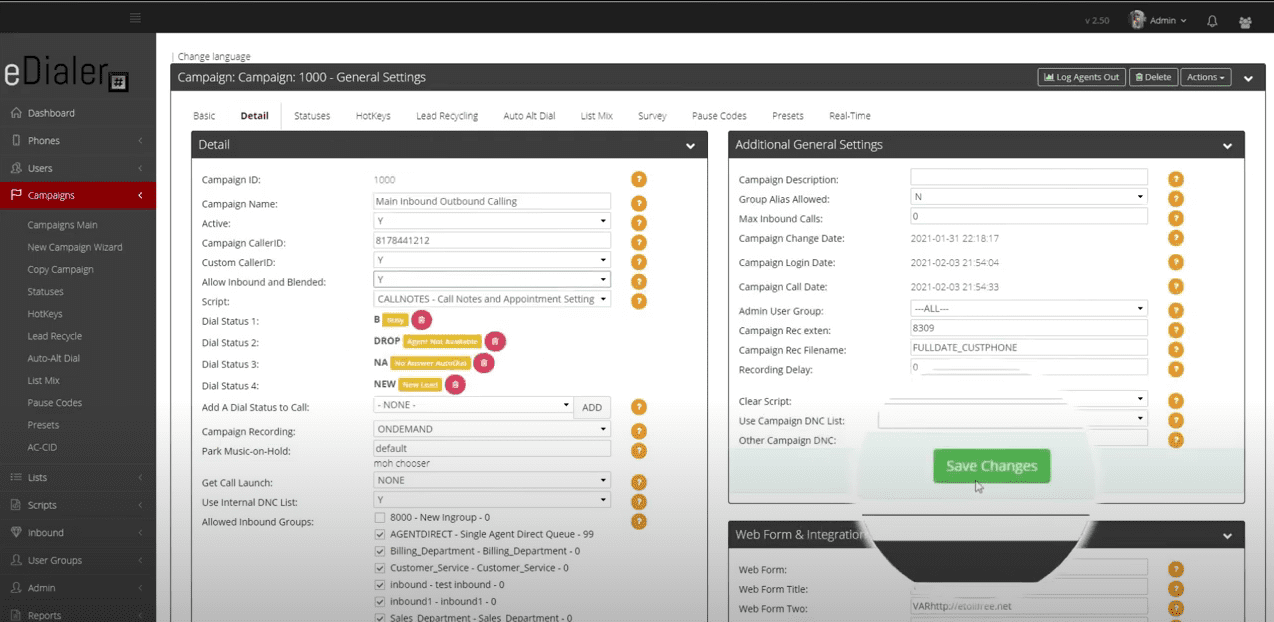
Find the Allow Inbound and Blended field and set it to Y.
-
Click Save Changes.
-
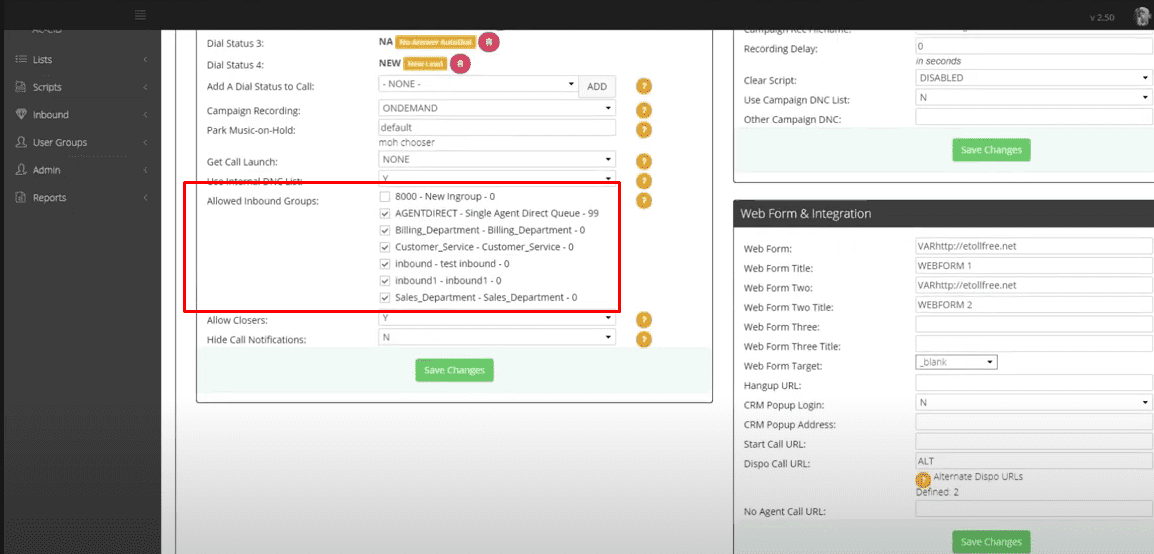
The Allowed Inbound Groups field will now appear on the campaign settings page.
-
Select the ingroup you just created from the list, then click Save Changes.
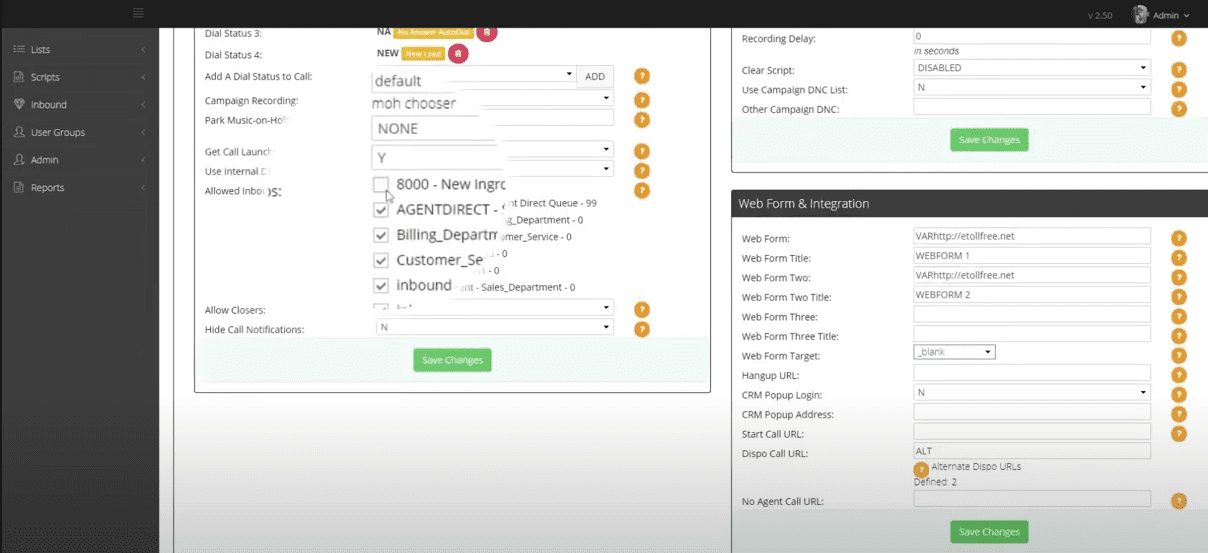
Your ingroup is now configured and linked to your campaign. Agents assigned to the ingroup will begin receiving inbound calls routed through your eDialer system.
Need help? Call our support team at 866-273-4639 or reach our sales team at 1 (800) 233-0234.