
Adding a DID & Route in eDialer
This is the third and final step of setting up your incoming calls — how to add a DID and
configure routing in the eDialer phone system.
After purchasing a number from your
number search page on eTollFree,
you will need to route the DID (phone number) to your PBX and then to your assigned eDialer
domain.
-
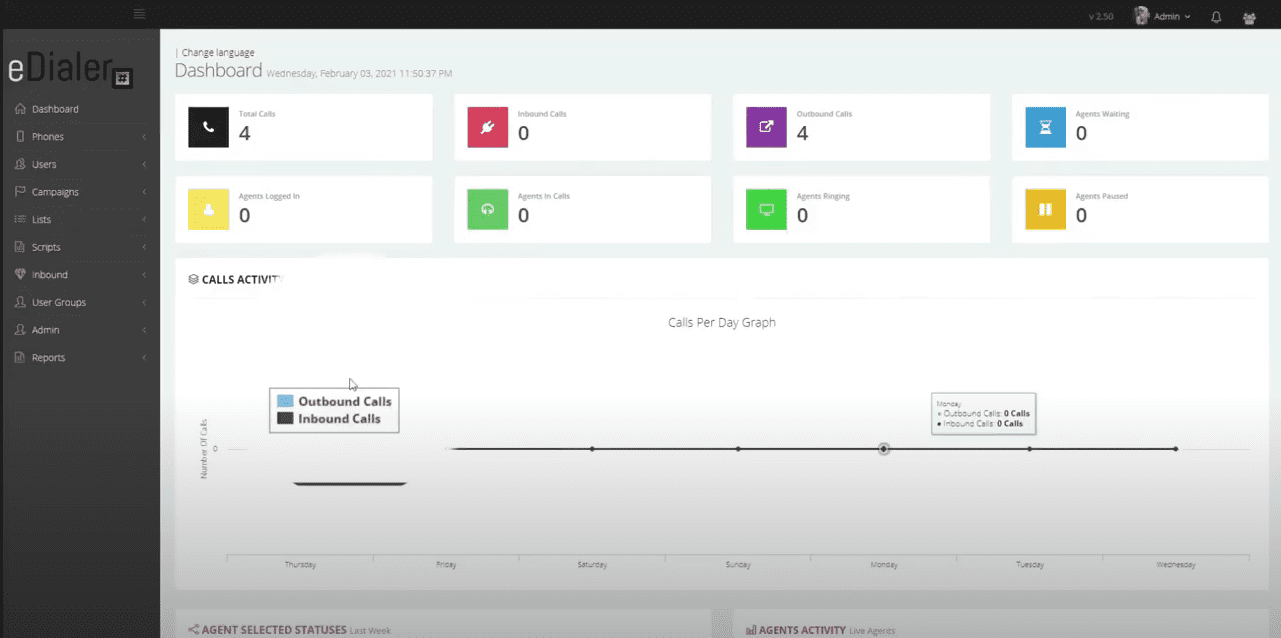
Open the eDialer administration dashboard.
-
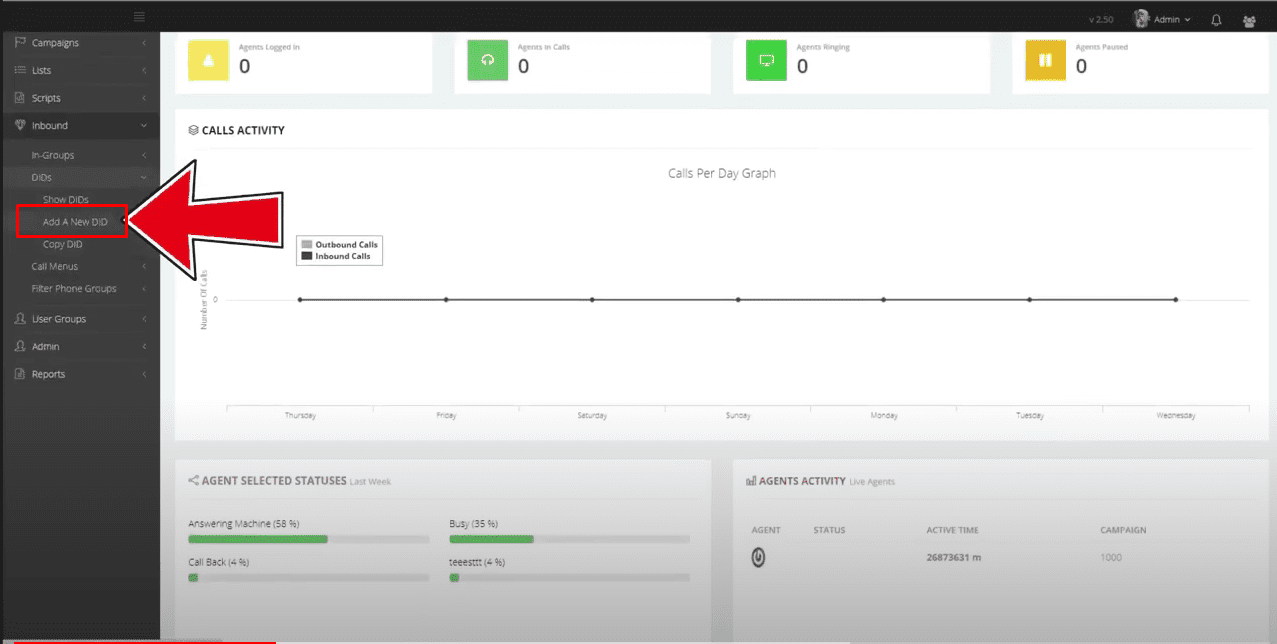
Go to Inbound, then DIDs, and click Add a new DID.
-
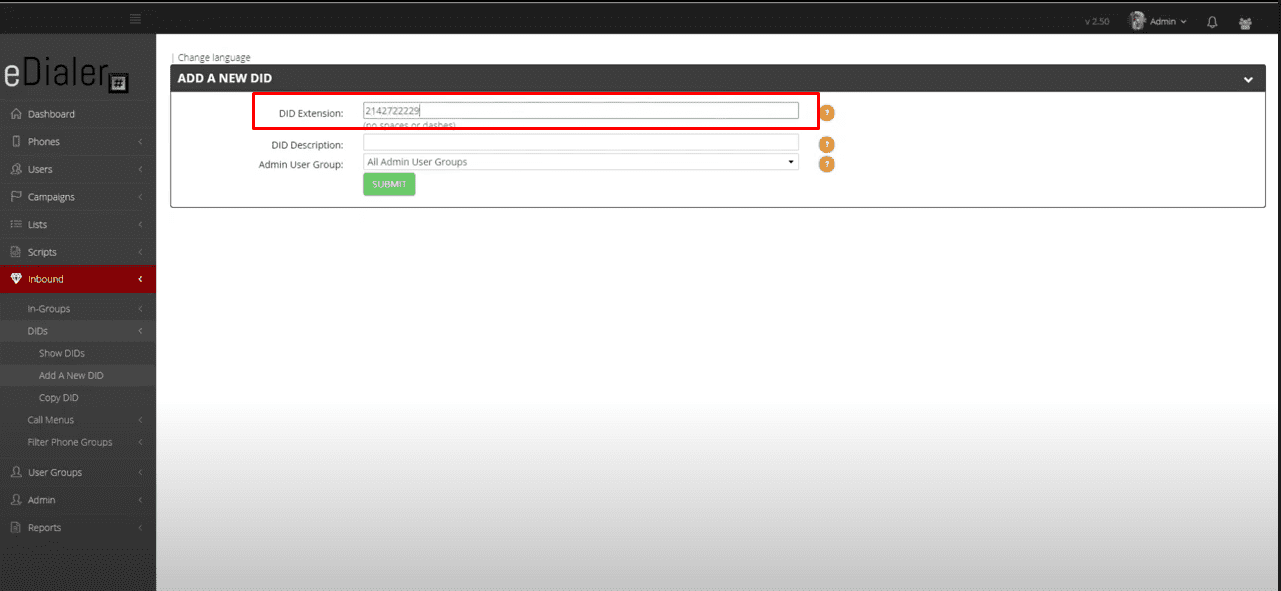
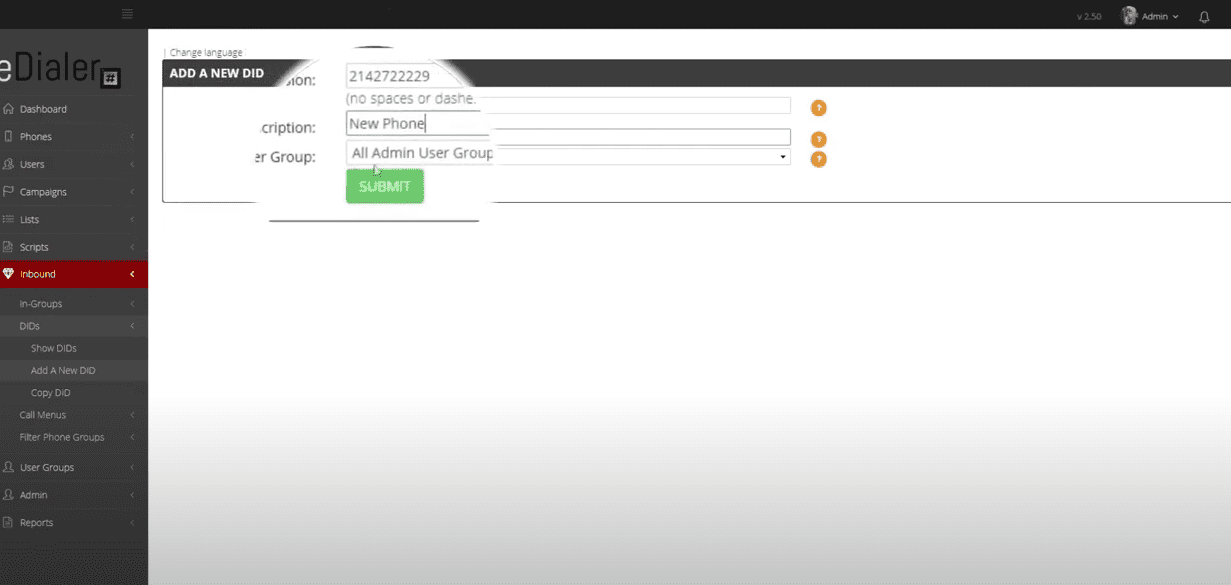
Under DID Extension, enter the 10-digit phone number you just purchased.
-
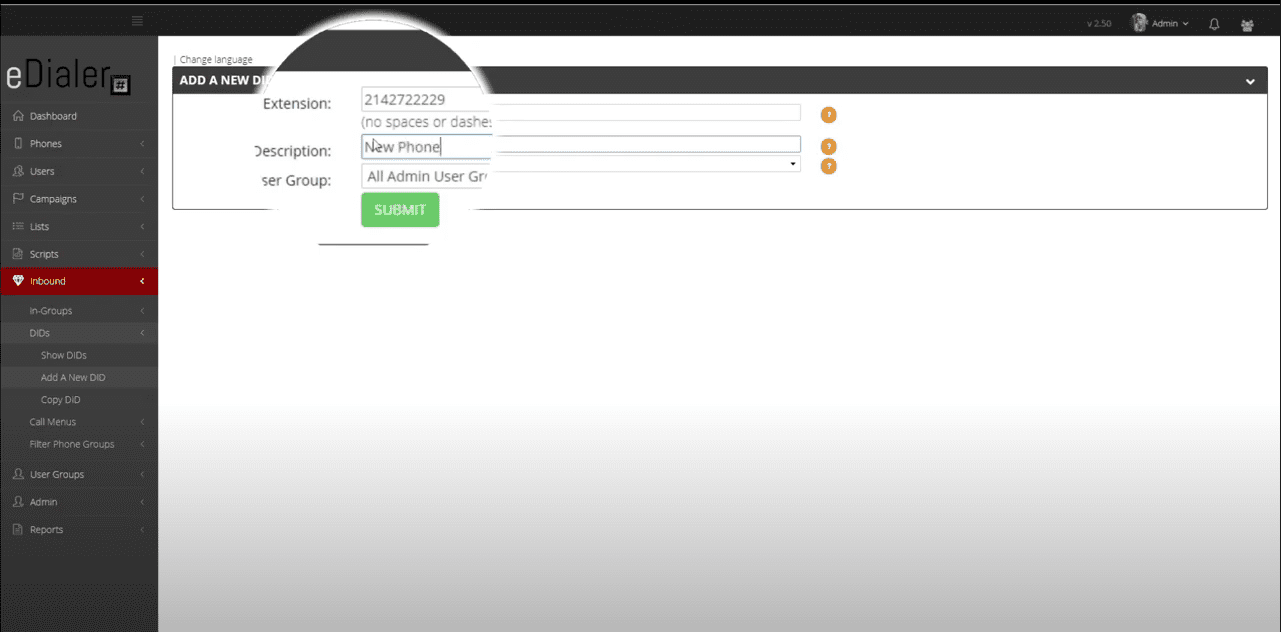
Add a description for the DID or phone number.
-
You can leave the Admin User Group set to its default value.
-
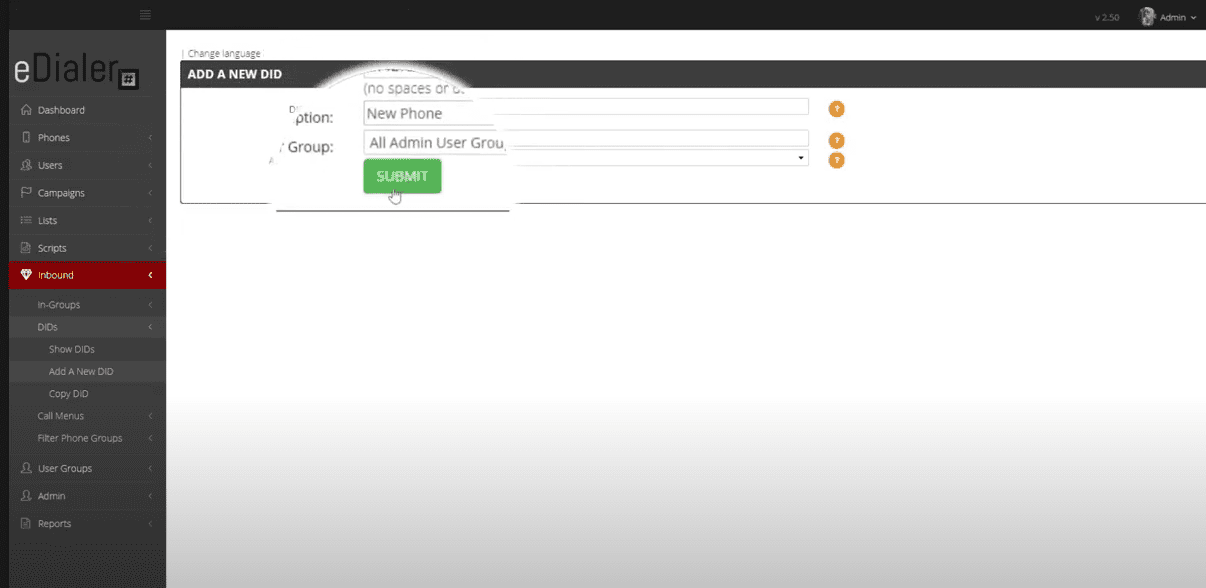
Click Submit.
-
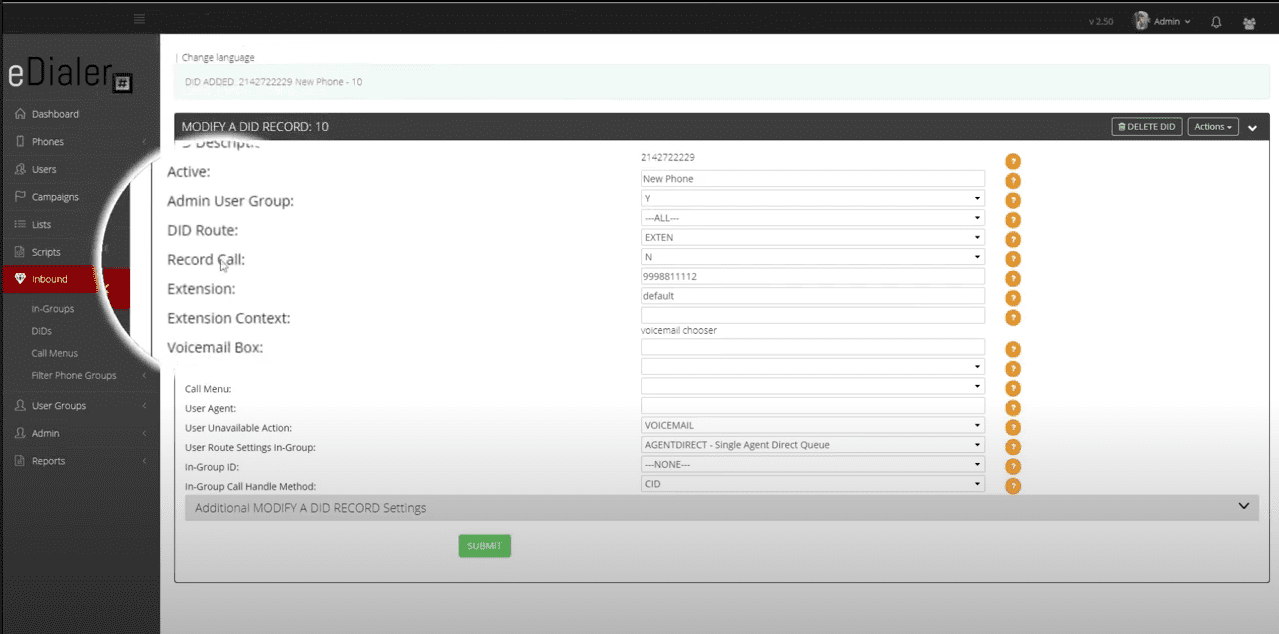
After submitting, you will now see the additional routing settings for your phone number.
-
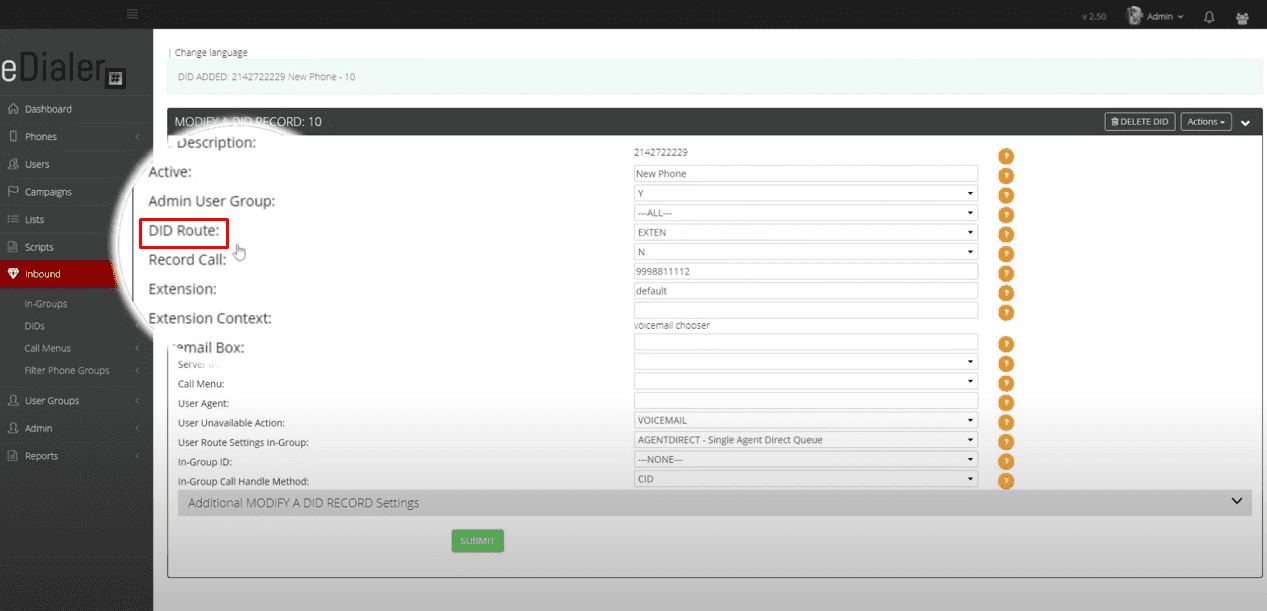
Go to DID Route to select the type of route you want to set up for this DID.
-
You can click the circle with a question mark for a definition of each
option in the dropdown. For this tutorial, set the route type to INGROUP.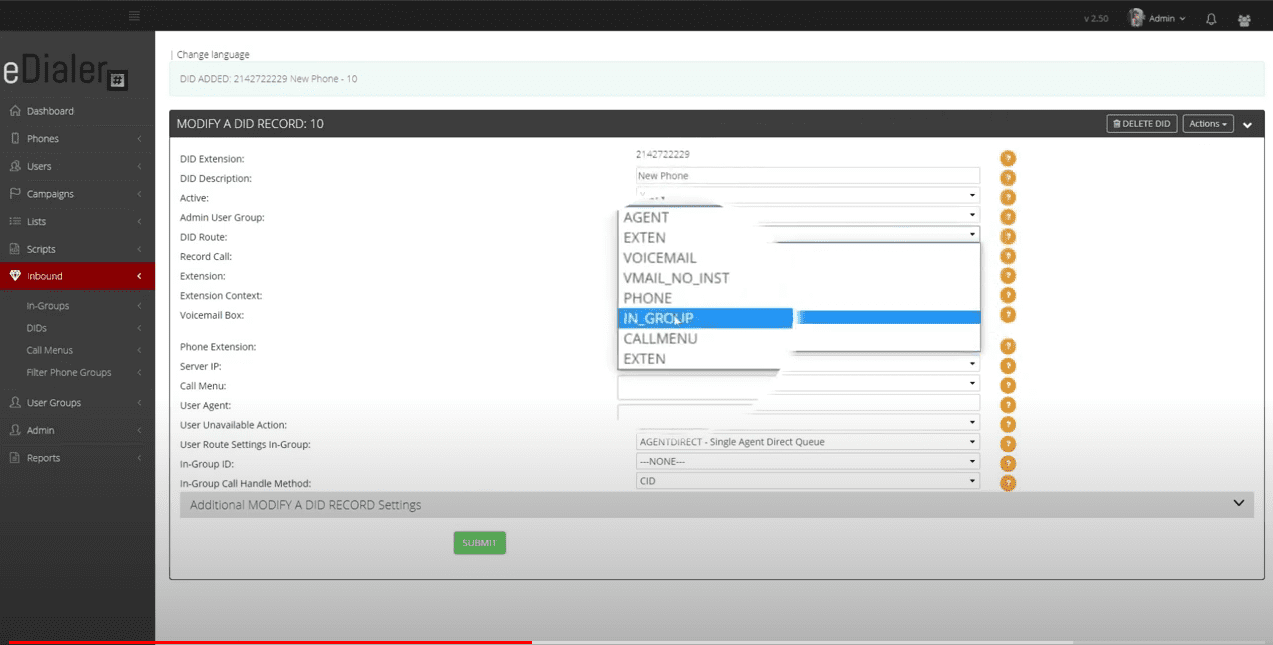
-
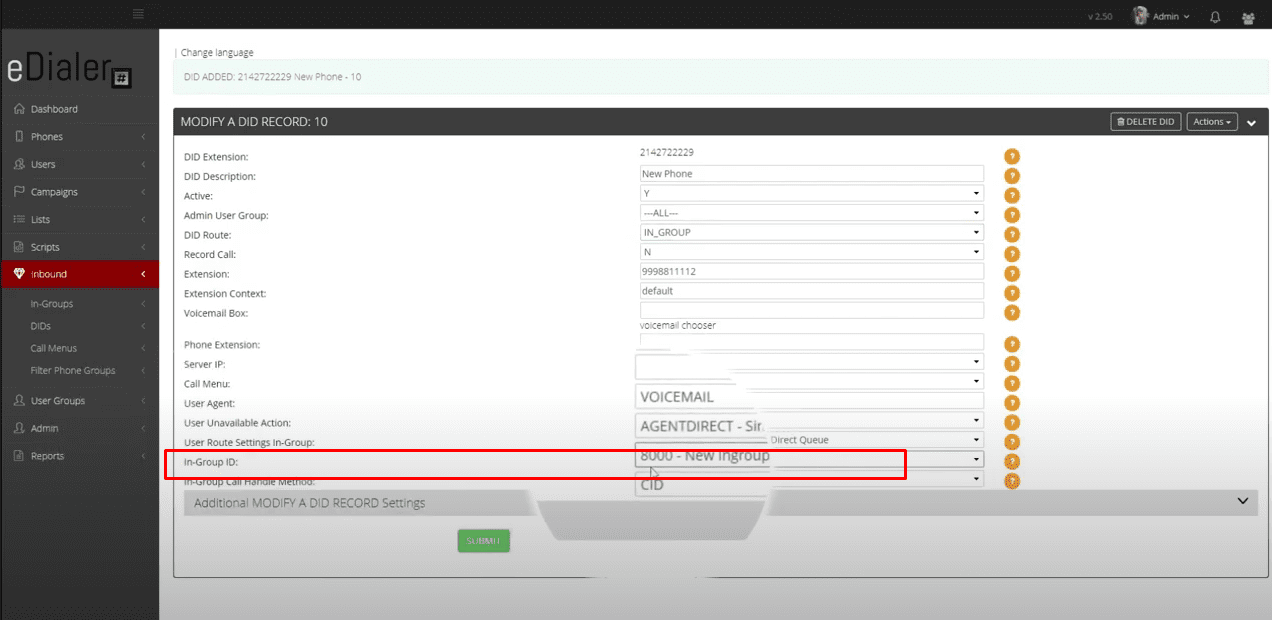
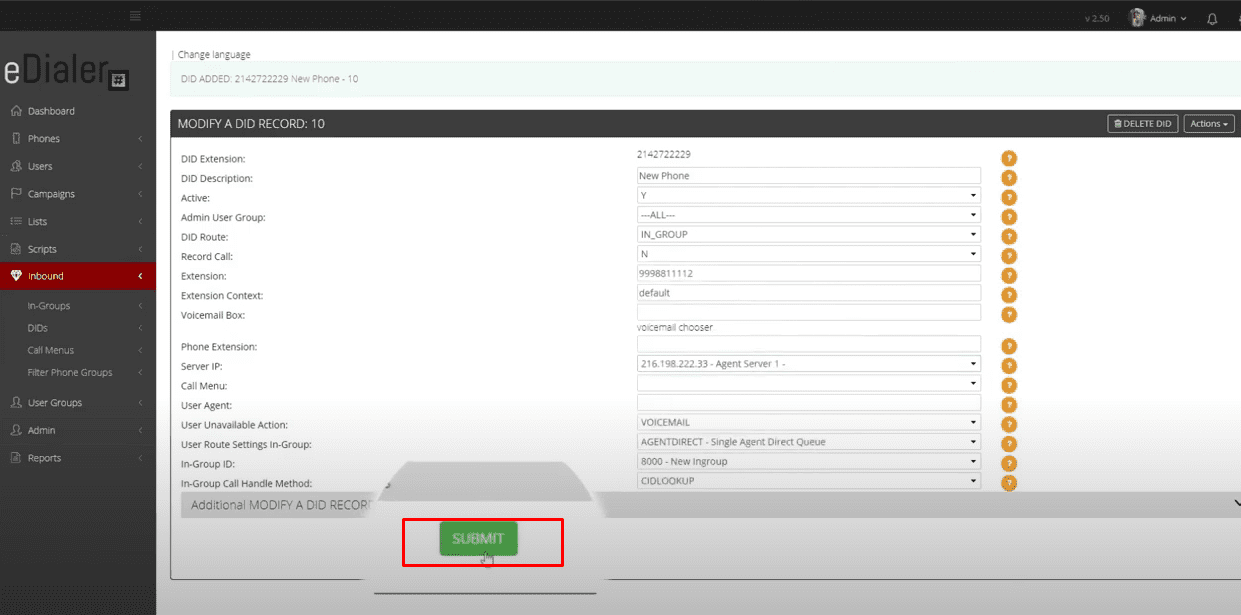
Go to In-Group ID and select the in-group you created for incoming calls.
-
Set the In-Group Call Handle Method to CIDLookup. This
tells eDialer to look up any previously saved information for the caller across the entire
system.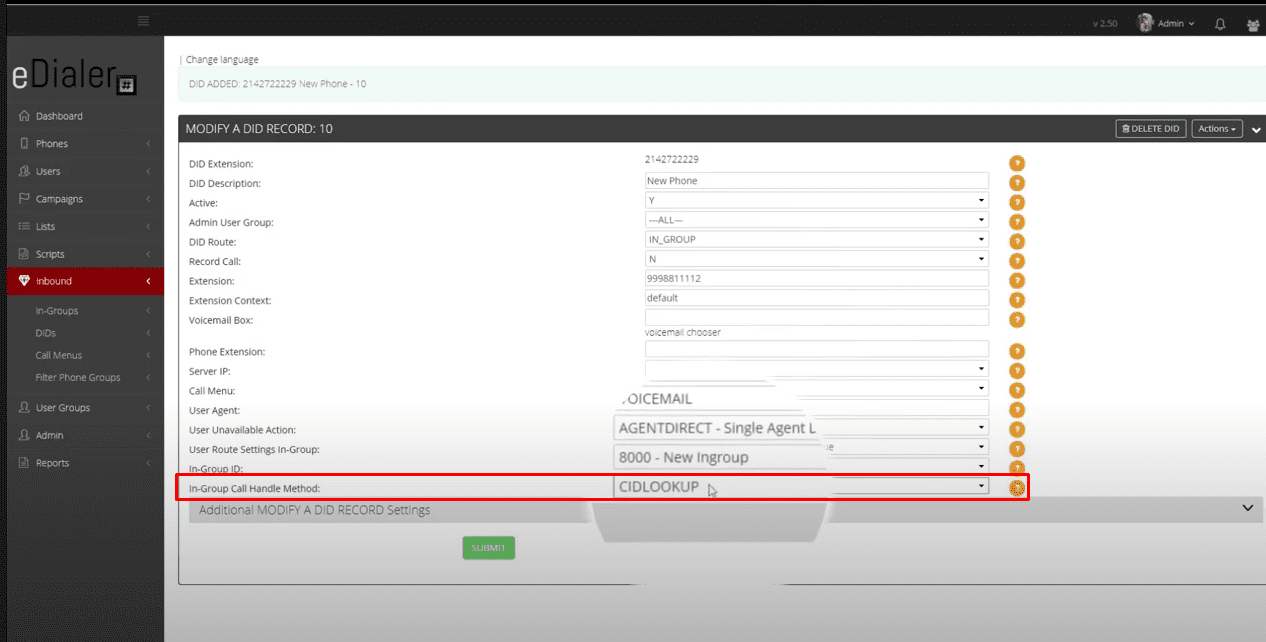
Note: If a caller’s information is already saved in eDialer, the agent
will see the customer’s details in the customer information field. If the incoming call is
from an unknown number, the agent will only see the phone number — the remaining fields
will be blank. -
For a full definition of each call handle method, click the circle with a question
mark and choose the option from the dropdown that best fits your setup.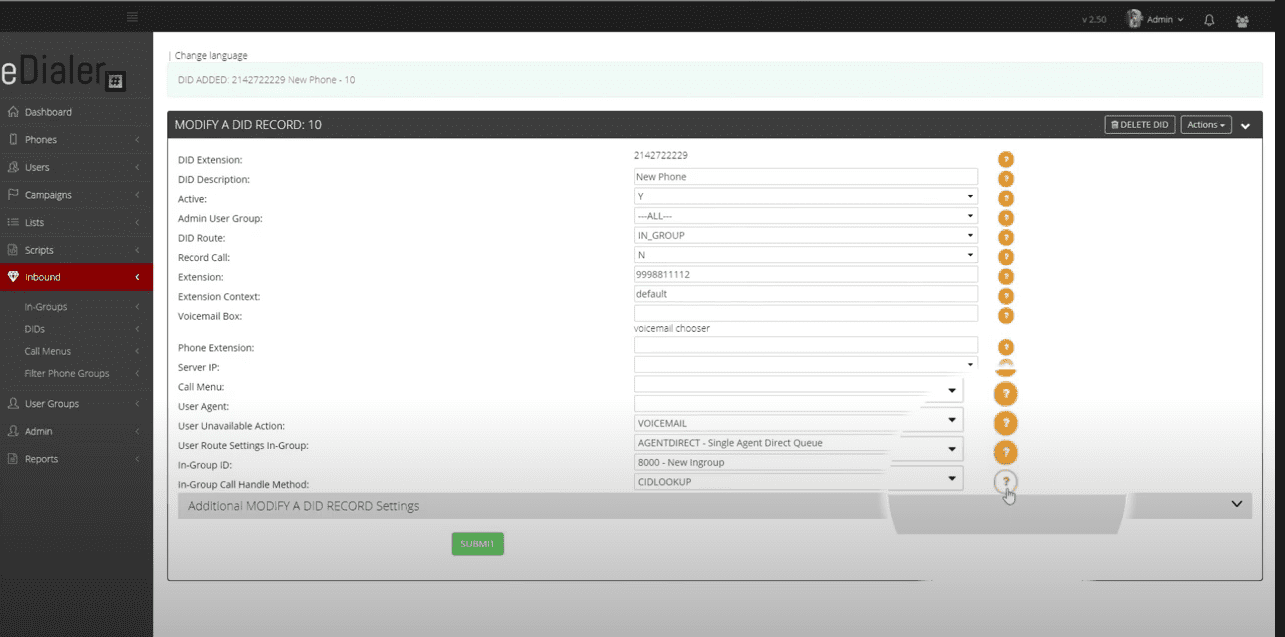
-
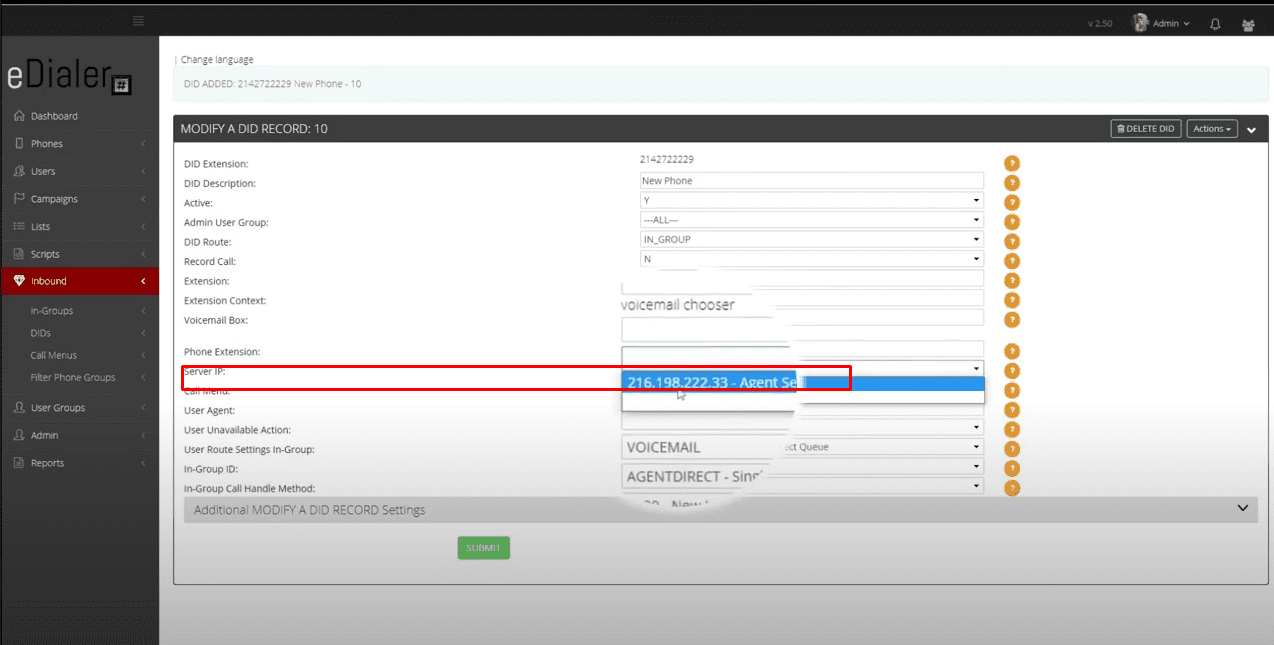
Under Server IP, choose your server’s IP address from the dropdown.
-
Click Submit.
You are now ready to make a test call to your phone number. If you need
assistance with any of these steps, our support team is available at
866-273-4639 or you can reach our sales team at
1 (800) 233-0234.